

How to Install Laminate Flooring
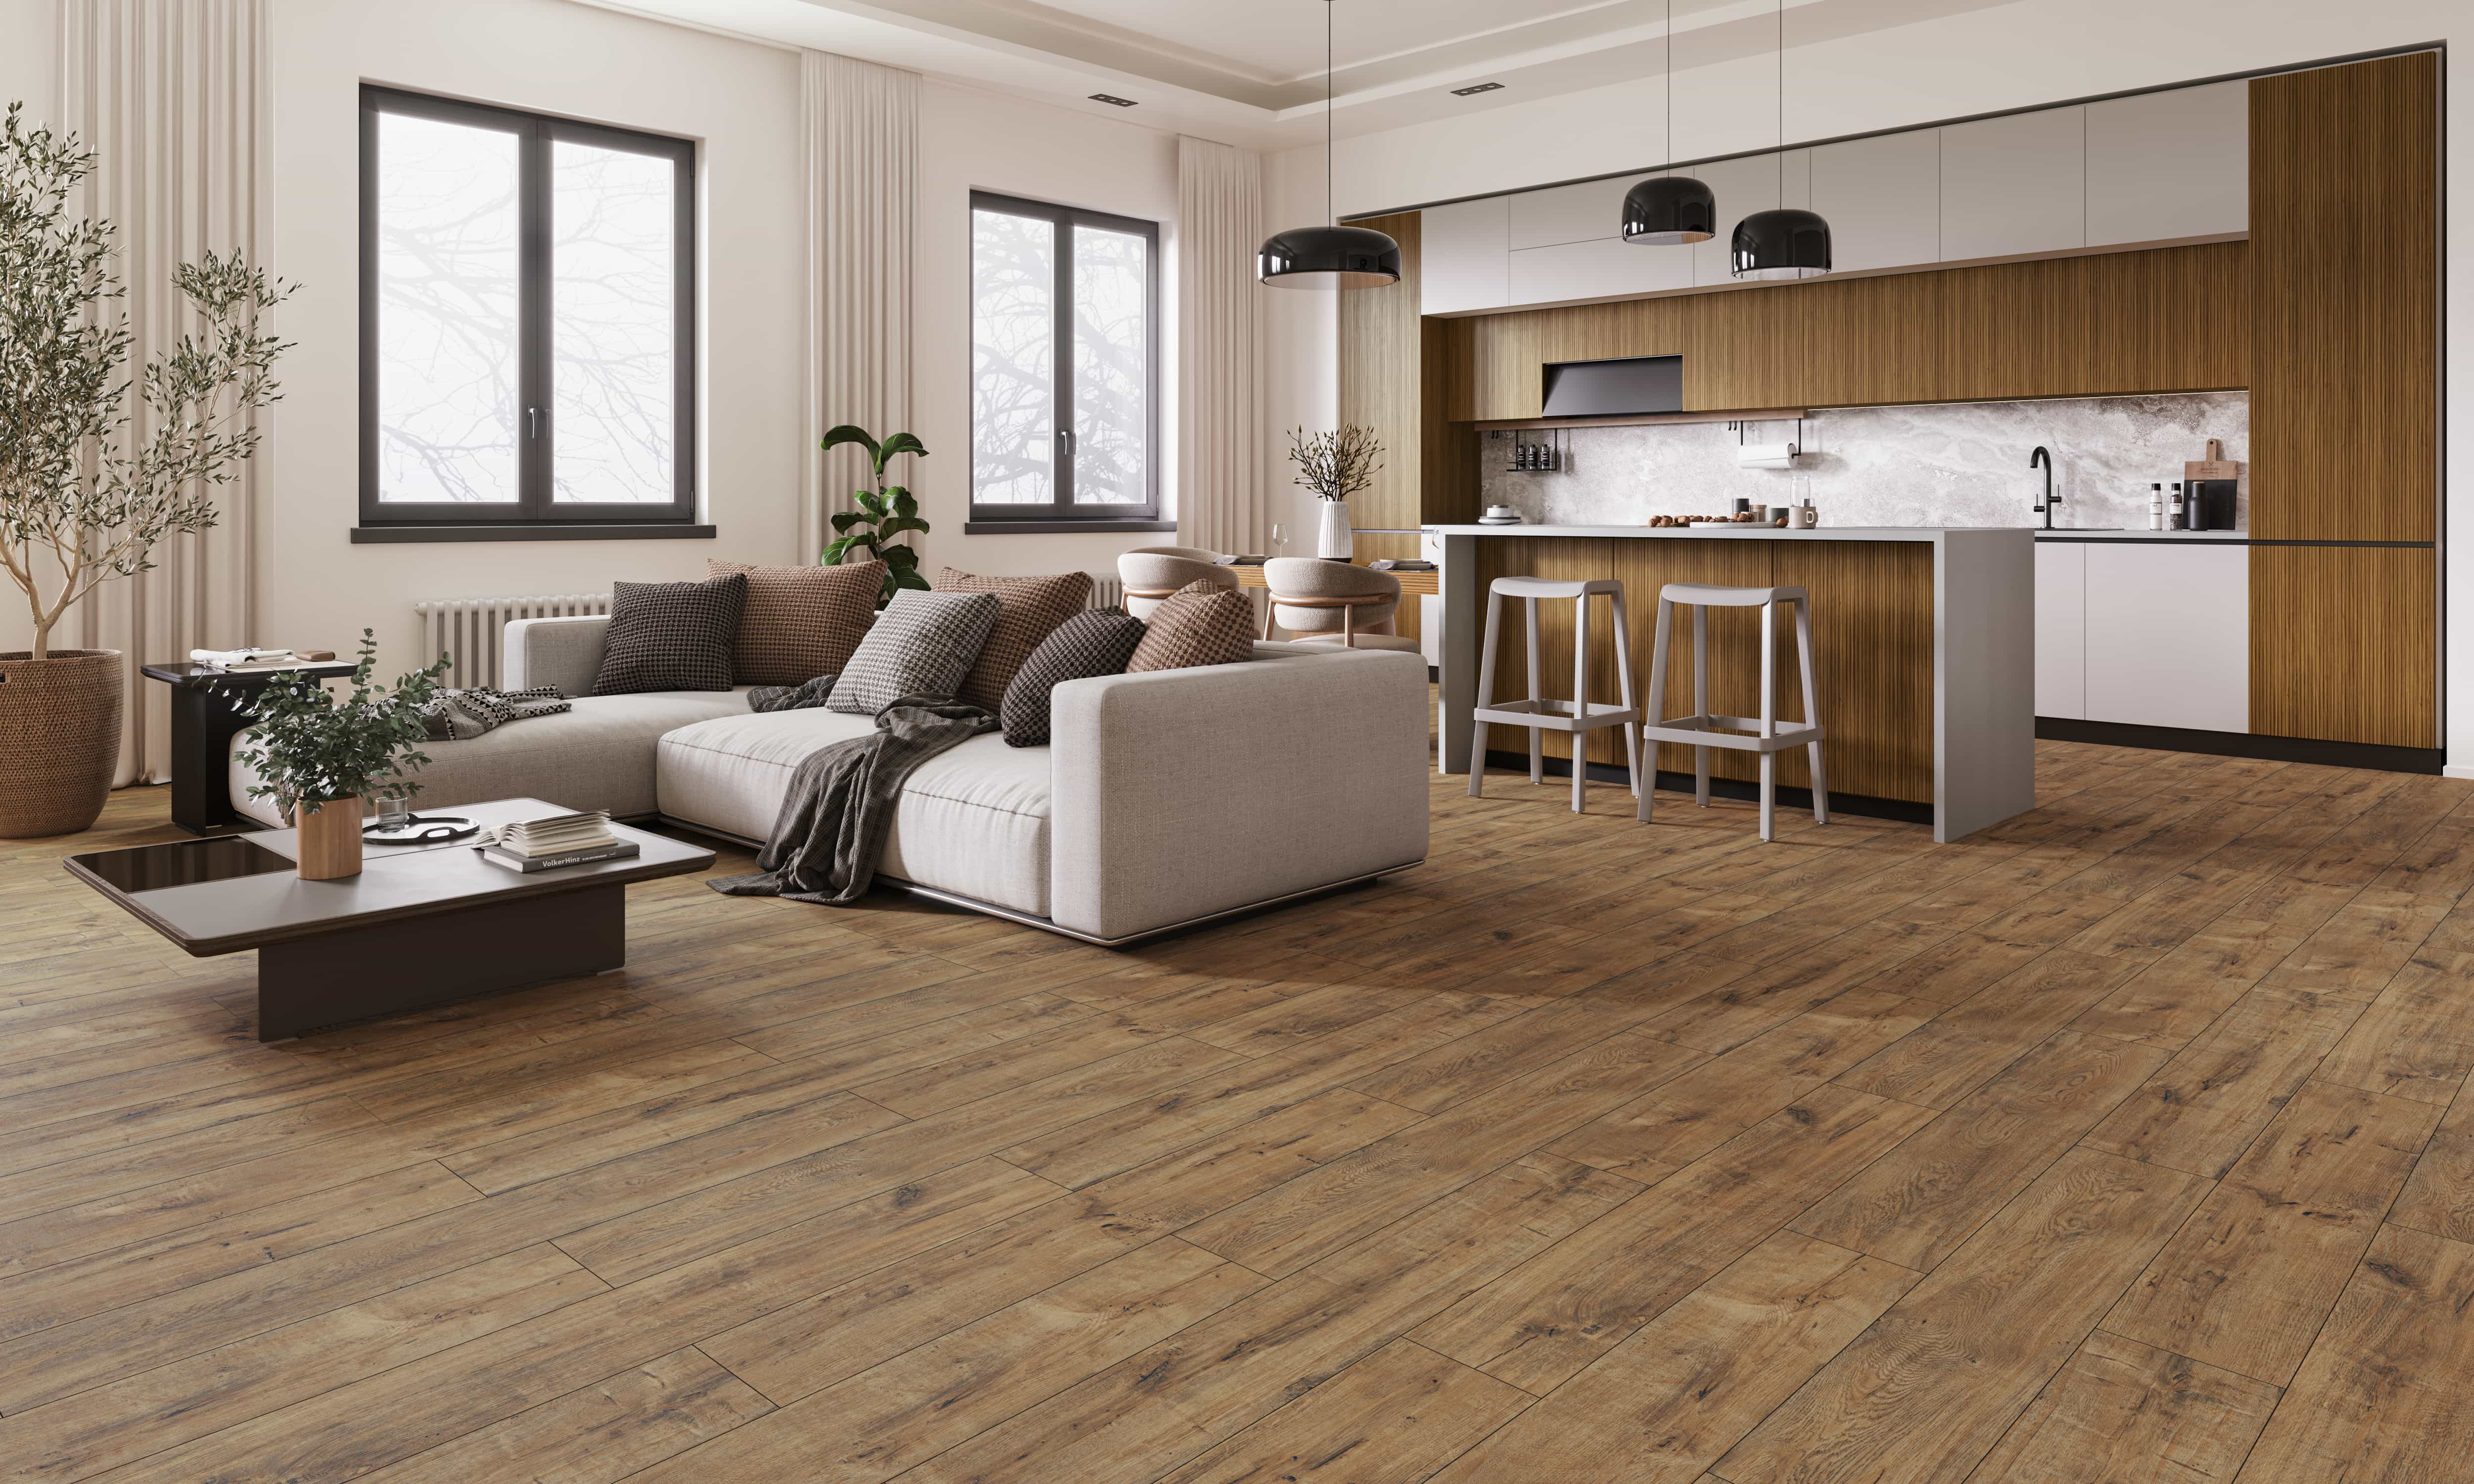
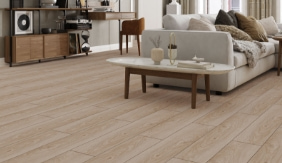
Laminate flooring stands out for its durability and wide range of color pattern options, which are frequently used in both residential and commercial areas. It is necessary to follow specific techniques and tips during installation to achieve the best results when installing laminate flooring.
Floor Preparation and Material Selection
A floor is one of the most important steps when changing the decoration of your home. Before you start installing laminate flooring, you need to carry out a detailed preparation process. The first step in this process is to take measurements of the installation area and calculate the required amount of laminate flooring. When calculating the area, you can think of buying extra pieces of laminate flooring to compensate for any potential errors during installation. It is required to have the floor completely clean and smooth for the laminate flooring to be installed properly.
Irregularities or protrusions should be fixed if any. Surface undulation should be ≤2 mm per meter. Make sure that the floor is completely dry. Any potential moisture on the floor can lead to mold and mildew under the laminate flooring, resulting in structural damage. The intended use and decoration style of a room should be considered when choosing laminate flooring. Many types are available at different thicknesses and with different patterns and surface finishes.
After buying laminate flooring, it should be left in the room for at least 48 hours before installation. As it is left in the room, laminate flooring adapts to ambient temperature and humidity. The temperature of the installation environment must be minimum +18°C. The floor temperature must be minimum +15°C, and the relative humidity of the installation environment must range between 40 and 70%. No problem is encountered when installing any laminate flooring that adapts to the environment in a short time. It is highly important to prepare the floor properly before starting laminate flooring installation. You need to make sure that the existing floor is clean and level. The floor should be made free of any dust, dirt or debris before installation. Installation can also be carried out on floor screeds and ceramic tiles. If the floor is pretreated, it is necessary to confirm that the floor is strong enough not to impair laminate flooring installation. Laminate flooring can also be applied to floors that use water circulation and underfloor heating systems. In this case, the use of any mats should be avoided. Kraft paper should be used instead. Additionally, electric underfloor heating systems (surface heat control) are suitable for installation if they are built into the screed or concrete layer (if the heating system is not above the concrete layer). The surface temperature of the floor should be maximum 28°C. A guarantee must be secured from the heating system manufacturer that the surface temperature will not exceed 28°C so that adjustable plate heating systems can be used as a floor covering. Electric underfloor heating systems based on the commercially available standard plates cause surfaces to heat up much more than 28°C in case of extremely sudden temperature changes. For this reason, electric underfloor heating systems based on the standard plates are not suitable for use as a floor covering.
The basic rules to be followed in the installation process can be summed up as follows. Polyethylene mats that are applied as an underlayment to the floor for moisture insulation on the surface should be placed to cover the entire surface. Polyethylene mats used before laminate flooring installation as underlayment to add acoustic-thermal-moisture insulation to the floor and eliminate floor roughness (less than 2 mm) should be placed parallel to the long edge of laminate flooring panels and to cover the entire surface. When placing the strips of insulating mats side by side, they should be placed to have adjacent edges (so that there is no open space). Since laminate flooring is installed as a floating system, it will not be screwed, nailed or glued to the floor. During installation, the distance between the short edge joints of two rows of laminate flooring installed side by side must be minimum 30 cm. For fabricated products with a beveled edge and/or a special pattern (e.g. decorative tiles), installation should be carried out by sliding pieces over evenly according to the beveled edge and/or pattern. A minimum distance of 15 mm must be left between laminate flooring and all fixed edges (walls, heating pipes, doors, frames, jambs, etc.) in the installation area. The product will be out of warranty if the distance left is less than 15 mm. For installation areas, it should be taken into consideration that the laminate flooring should be installed at a maximum length of 10 m longitudinally and at a maximum width of 8 m transversely. Transition profiles should be used in areas that exceed these dimensions, leaving minimum 20 mm transition gaps. Damaged and unfit panels should be removed before and during application. Our products are manufactured in multiple factories. Any laminate floors manufactured in different factories should not be installed together in the same area. Otherwise, the product will be out of warranty. Any products manufactured in the same factory should be categorized based on their manufacturing dates before the installation starts. For installation, the preference should be given to the use, in the same area, of the products manufactured on dates close to each other. Installation should be stopped in case of finding visible defects, such as gloss variation, elevation difference, tone difference, gap, and damaged product. Tone transitions between elements cannot be considered a defect due to the unique pattern characteristics of the product (knots, pattern and color transitions, etc.). The product should be inspected for completeness and intactness upon receipt. If any defects are found in the products, the defect found must be recorded in a report that indicates the number of defective products and includes the signature of the driver of the vehicle used for transportation. Otherwise, the product will be out of warranty. If the products that are considered to be defective after application are removed from the installation area without the knowledge of the company executive, the said products will be out of warranty. It is recommended to install the laminate flooring towards the window in square areas and parallel to the long side in rectangular areas.
Laminate Flooring Installation Techniques
Laminate flooring installation requires know-how and attention. It is advisable to leave any laminate flooring you want to install in a room for 48 hours before installing it so that it adapts to the environment. When starting installation, start by keeping a certain distance from the wall. This distance should be around 15 mm, covering the gap when the laminate flooring expands.
Place the laminate flooring underlay (mat) on the floor, and inspect the groove and tongue profiles on the long and short sides. Start installing the first row from the left corner of the room with both tongues of the element facing the wall. When starting installation, a spacer (a 15 mm thick wedge) should be placed that keeps distance from the wall. The laminate flooring is placed as a whole with the tongues facing the corner. This is followed by cutting first 2/3 and then 1/3 of any other laminate flooring plank and joining them so that the cut parts remain on the wall side. For maintaining the resulting integrity, the male lock should be fitted to the female lock by lowering it at an angle of 30 degrees from top to bottom so that it is level with the floor. Locking should be performed along the long edge when continuing installation. The laminate flooring locks should be seated by hammering with a laminate flooring wedge and rubber mallet along the short edge. Hard impacts should be avoided not to damage laminate flooring tongues and grooves. A laminate flooring plank should be cut with points a and b marked by calculating the spacer margin, and the long-edge locking part should be seated. Piece B can be used at the beginning of the next row if it is longer than 30 cm. The laminate flooring should be seated by hammering it with a pull bar and mallet. When installing the laminate flooring, the parts that coincide with the heating pipes should be cut with a jigsaw by leaving minimum 15 mm from the fixed places. The removed parts should be passed around the pipe and then glued together with a suitable adhesive. The laminate flooring should be cut according to the stair step, leaving a minimum gap of 15 mm from the edges. All spacers should be removed. Skirting boards should be cut to fit into their places and made ready for installation. Skirting boards should be fixed to the wall using a hammer and nails.
After installing the first row, interlock laminate flooring planks using the tongue and groove locking system. For the laminate flooring to fit properly, it can be tapped on gently using a hammer and mallet. The other point to be considered during installation is that the ends of each row should be in a staggered pattern. Staggered installation helps the laminate flooring be more robust and have an aesthetic appearance.
During installation, it may be necessary to cut laminate flooring planks through the corners and edges. When installing the laminate flooring, a jigsaw should be used to make smooth and clean cuts. Care must be taken not to damage the decorative surface of the laminate flooring plank during the cutting process.
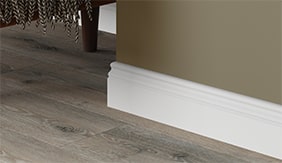
After installation is complete, side gaps should be closed with skirting boards placed on the laminate flooring surface. Skirting boards do not only give a decorative look, but also conceal the space necessary for the laminate flooring to move. Once installation is complete, gently walk over the laminate flooring to make sure that everything is smooth and fixed.
Jointed laminate flooring types require special care during the installation process. These laminate floors are characterized by fine side gaps and must be carefully aligned. When installing jointed laminate flooring, make sure that the joints between each plank are aligned. Tailor-made jointed laminate flooring helps you add depth to the floor by offering the appearance of natural wood.
Extra processes, such as skirting boards and transition profiles, should be taken into account during the laminate flooring installation. These processes allow you to make the transition of laminate flooring to wall edges and other floor surfaces highly aesthetic. Skirting boards can also be used to conceal cables, as they provide the finish between the wall and the laminate flooring.
Different laminate flooring installation techniques allow any laminate flooring to be used for a long time. The Unidrop laminate flooring installation is a fast and practical method. In this technique, laminate flooring planks are installed by sliding them together horizontally. The process starts by placing one plank and sliding the other plank into it laterally. The ends of the planks are joined by a special locking mechanism to form a solid base. During installation, make sure that the planks are fully interlocked and use a rubber mallet if necessary. After installation is complete, finish the process by mounting the edge skirting boards.
The Unifit laminate flooring installation is carried out using planks that interlock on both the long and short sides. The planks in the first row are locked together along their long edges. For the next rows, the planks are first inserted on the long side and then locked from top to bottom on the short side. This method allows the laminate flooring to be seated in a stable and robust fashion. During installation, make sure that the planks are properly aligned and fully interlocked. Once installation is complete, finish the process by mounting the edge skirting boards.
L2C laminate flooring installation is an efficient method in which the planks are joined together by a special click mechanism. Installation starts with the placement of the first row of planks. The planks are locked by pressing along their long edges until they click. For the next rows, the new planks are first inserted on the long side and then locked by pressing down on the short edge. The L2C system is one of the methods that provide robust and durable flooring. After installation is complete, finish the process by mounting the edge skirting boards.
Care and Cleaning After Laminate Flooring Installation
The other key point to consider, along with laminate flooring installation, is regular care. Since these laminate floors are moisture-sensitive, water should not be used excessively when cleaning them. It is best to use a damp cloth or special laminate floor cleaners to clean them. Felt pads can be attached to the legs of furniture to avoid any scratch or damage on the laminate flooring surface.
Rubber or felt pieces must be attached to the legs of all fixed or movable furniture. Heavy furniture, in particular, must be lifted to move. The wheels of wheeled furniture, seats and chairs must be soft. Our products are manufactured in accordance with the laminate floor coverings standard EN 13329. Laminate floors must be cleaned using an unsoaked, well-rung, lint-free microfiber cloth. Corrosive cleaning agents (e.g. powder detergents, etc.) must not be used. The laminate flooring must not be sanded. Our products are not suitable for use on wet floors due to their wood-based structure. They can be used in environments where the laminate flooring surface is only temporarily subject to splashing water for less than 48 hours. Any spilled water must be dried off the laminate flooring as soon as possible.
Hard objects that may damage the laminate flooring surface must be avoided, and care must be taken when moving heavy objects. Ventilating the laminate flooring regularly and protecting them from direct sunlight prevents discoloration of laminate floors and makes them long-lasting.
Laminate flooring installation can be completed successfully by following the steps required to install laminate flooring. Using the right techniques and materials during laminate flooring installation brings about long-lasting experience. Combining quality workmanship and materials with regular cleaning, you can use your laminate flooring optimally for many years.
Thanks to Kastamonu Entegre, you can easily access quality laminate flooring types that will let you get the decoration you dream of.